Digital Microscopy
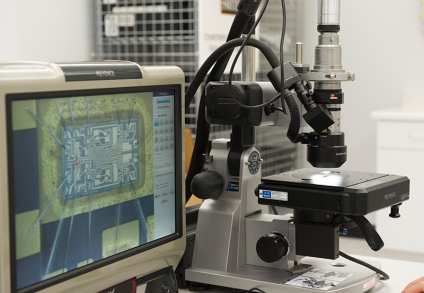
Smith’s stereo and high-powered microscopes can magnify up to 500x to detect blacktopping, sanding, oxidation, and retinning.
Smith conducts thorough, in-house quality-control measures to verify product authenticity in our state-of-the-art counterfeit-detection labs. Components are carefully sourced and comprehensively inspected, with destructive, nondestructive, and custom testing solutions available so that the integrity of your parts will never be in question. Smith’s authenticity-testing labs maintain ISO/IEC 17025 accreditation and meet the highest standards for testing and inspection.
Avoidance is the first step of counterfeit-part risk mitigation. Smith’s suppliers are formally selected, qualified, and continually evaluated to ensure their ability to provide product that meets customer requirements, in line with CCAP-101 and AS6081 certification standards.
Learn MoreSmith’s CCCI-102 Level 1 and Level 2 quality inspectors meticulously examine components to verify that part dimensions, markings, leads, packaging, and other characteristics are consistent with manufacturer specifications.
Smith’s stereo and high-powered microscopes can magnify up to 500x to detect blacktopping, sanding, oxidation, and retinning.
Our high-definition microscopes can reproduce views as 60x HD images, allowing us to inspect components with unsurpassed color rendition and no distortion, delay, or interference.
With an integrated 2D/3D measurement system and extremely high depth of field, Smith’s high-magnification HD/3D microscope can capture any area in complete focus.
Utilizing x-ray imagery and independently developed algorithm software with artificial-intelligence functionalities, our fully automatic counting machine can accurately calculate the number of parts in a reel in seconds without unpacking or transferring the reel.
Nondestructive testing includes a variety of testing and inspection techniques that are proven to be nondestructive to a component’s performance or reliability. These methods are used to identify markings, voids, and other anomalies in or on components.
X-ray images are compared against OEM parts and are also used to verify that no voids have formed and to confirm leads and bond wires.
Smith’s XRF machine measures coating systems to determine coating thickness and composition and analyzes material content for small structures and small components.
C-SAM acoustic microscopy uses pulse-echo imaging to detect voids, cracks, and delaminations and penetrate blacktopping to expose markings.
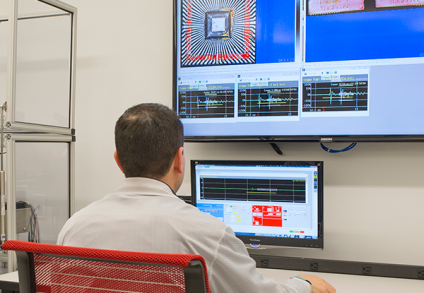
Smith’s curve tracer performs reliability analysis, verifies pins and electrical continuity, and analyzes anomalous characteristics.
Smith’s LCR meter measures the impedance, capacitance, inductance, and resistance of passive components.
This test assesses component functionality at low and high temperatures as well as thermal-shock temperature cycling to verify that the component meets the manufacturer’s thermal-performance specifications.
With a built-in 144-pin driver, this device can verify read and write programmability and perform a blank check on more than 100,000 unique part numbers from nearly 400 different manufacturers.
Destructive testing is the final component of Smith’s authenticity-testing process. More invasive measures, such as decapsulation and lead solderability, may be required in some instances to confirm the legitimacy of a product.
Decapsulation is used to verify die size and manufacturers’ logos, inspect the architecture of the die, and confirm part numbers.
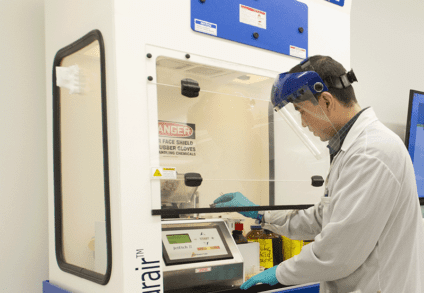
Heated-solvent testing exposes signs of counterfeiting by detecting sand marks, texture differences, and blacktopping.
Smith verifies the solderability of component leads to determine coating durability and checks for signs of corrosion and oxidation on aged products to establish usability. Wetting-balance testing is available at Smith’s Hong Kong hub.
Smith measures bond strengths and distributions and tests the integrity of materials used to attach dies or surface-mounted passive elements to determine compliance with bond-strength requirements.
Per RoHS 3 directive, Smith identifies restricted substances and tests for four phthalates: bis(2-ethylhexyl) phthalate (DEHP), benzyl butyl phthalate (BBP), dibutyl phthalate (DBP), and diisobutyl phthalate (DIBP).
Cross-section analysis is used to inspect the internal structure and composition of parts and identify defects that can cause component failure.
Smith offers full functionality testing in our best-in-class in-house test laboratories.
Diligence, processes, and attention to detail are at the core of our business.
CCCI-102 Level 1 and Level 2
Our quality inspectors’ CCCI-102 certification expands upon the anti-counterfeit standards contained in Smith’s CCAP-101 certification and helps to safeguard the global supply chain from inauthentic components.
ERAI
ERAI membership provides access to a global network of resources to help identify high-risk suppliers and detect counterfeit parts.
GIDEP
GIDEP membership gives Smith access to resources that provide us with details about companies involved in incidents of suspect counterfeit parts.
From shutdowns to natural disasters, we’re here to help you through any supply chain disruption.
Smith’s cost-savings program matches you with parts within your specified price range.
Get the electronic components and peripherals you need and the results you require.
您可通过以下三种方式,轻松关注Smith微信公众号: